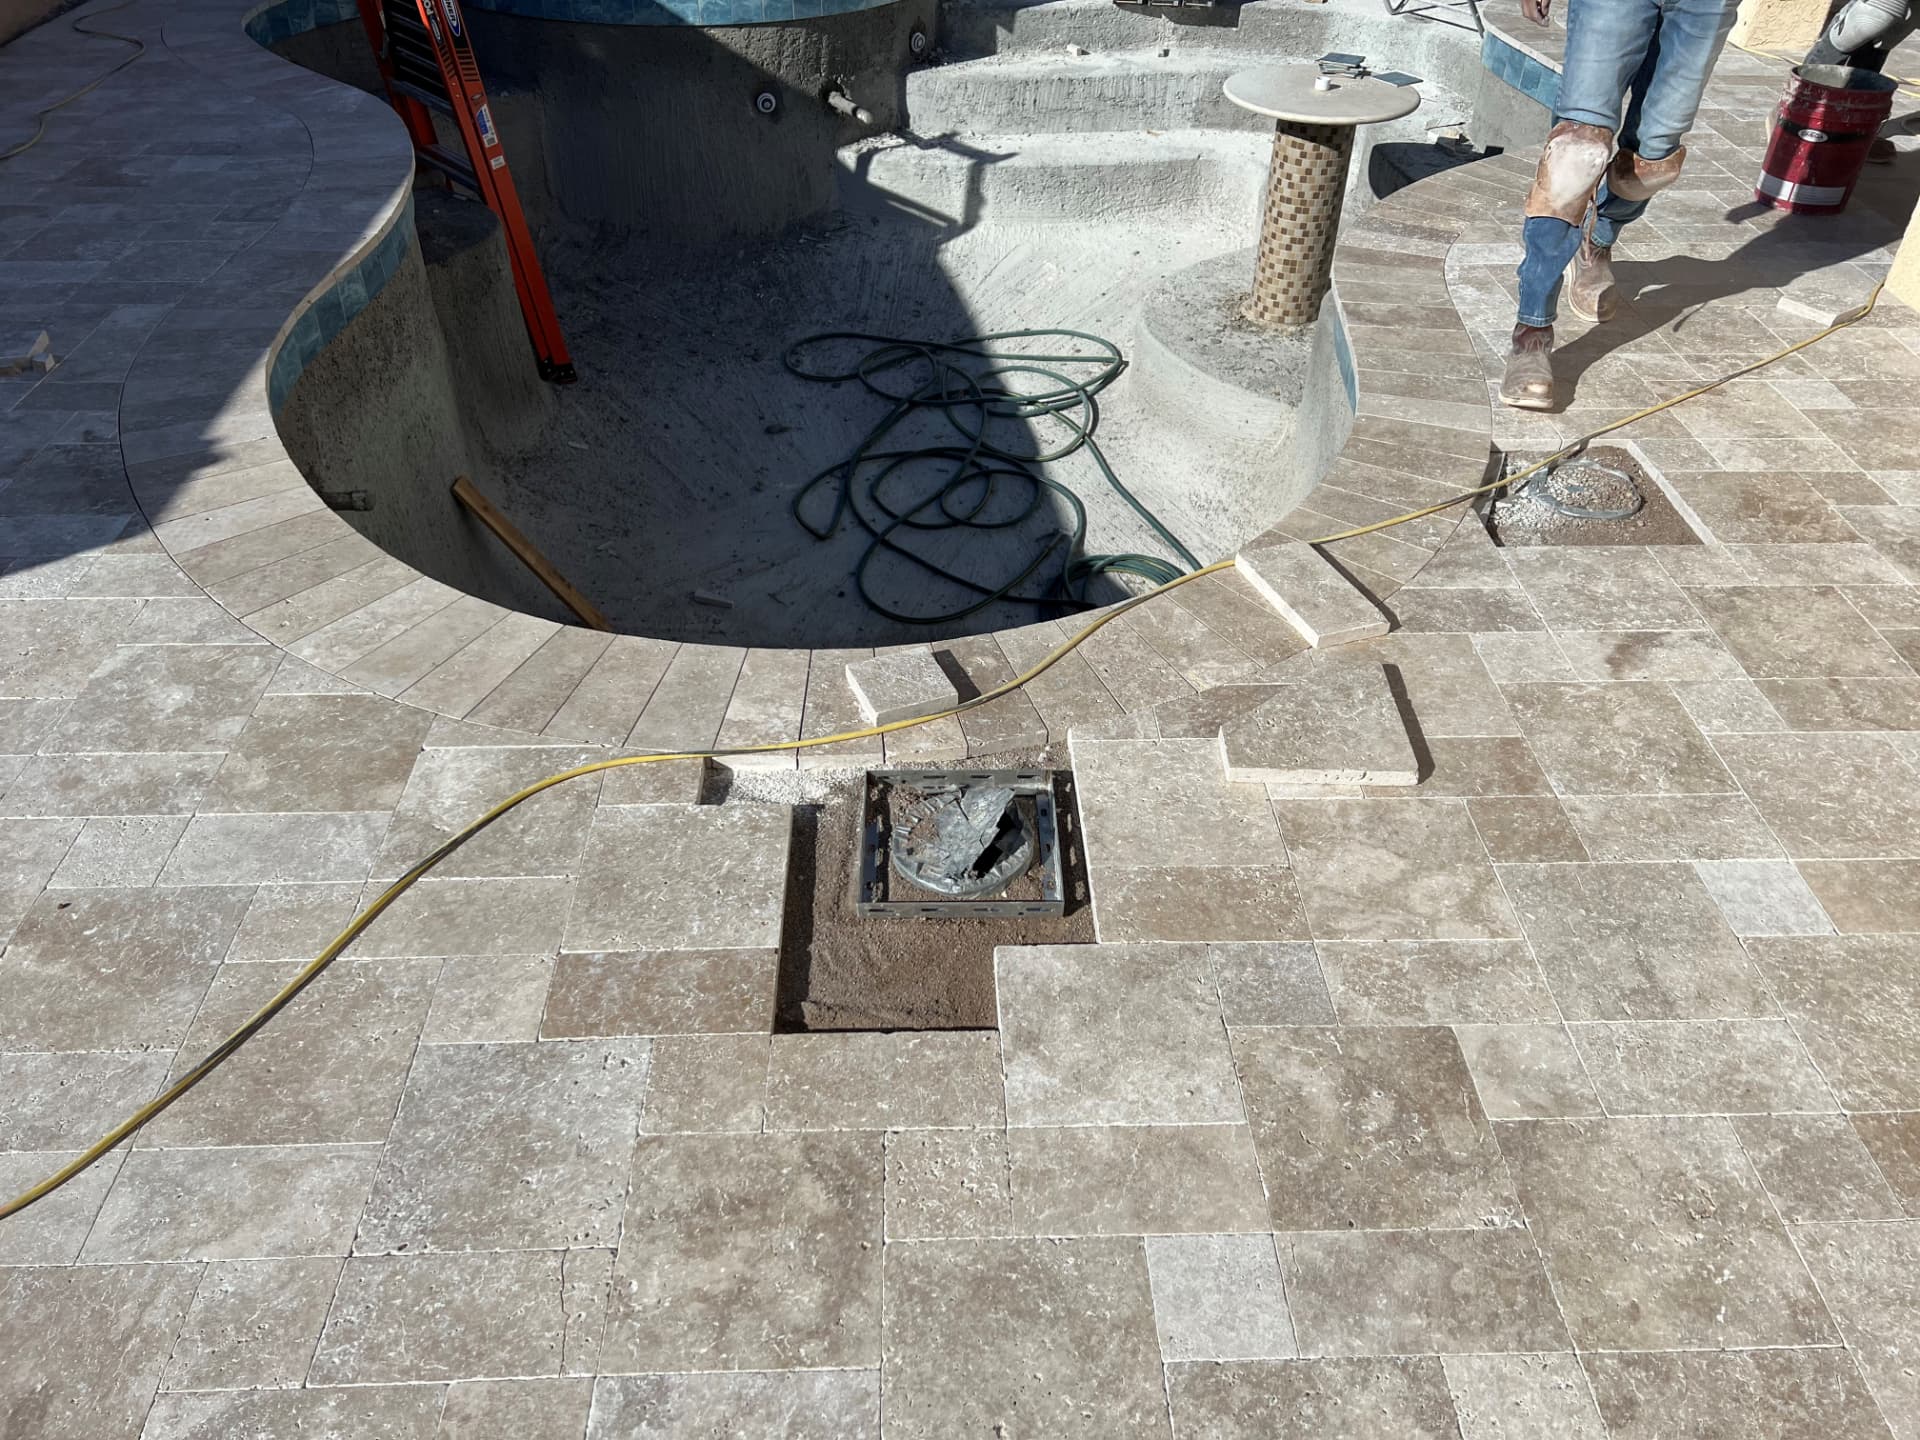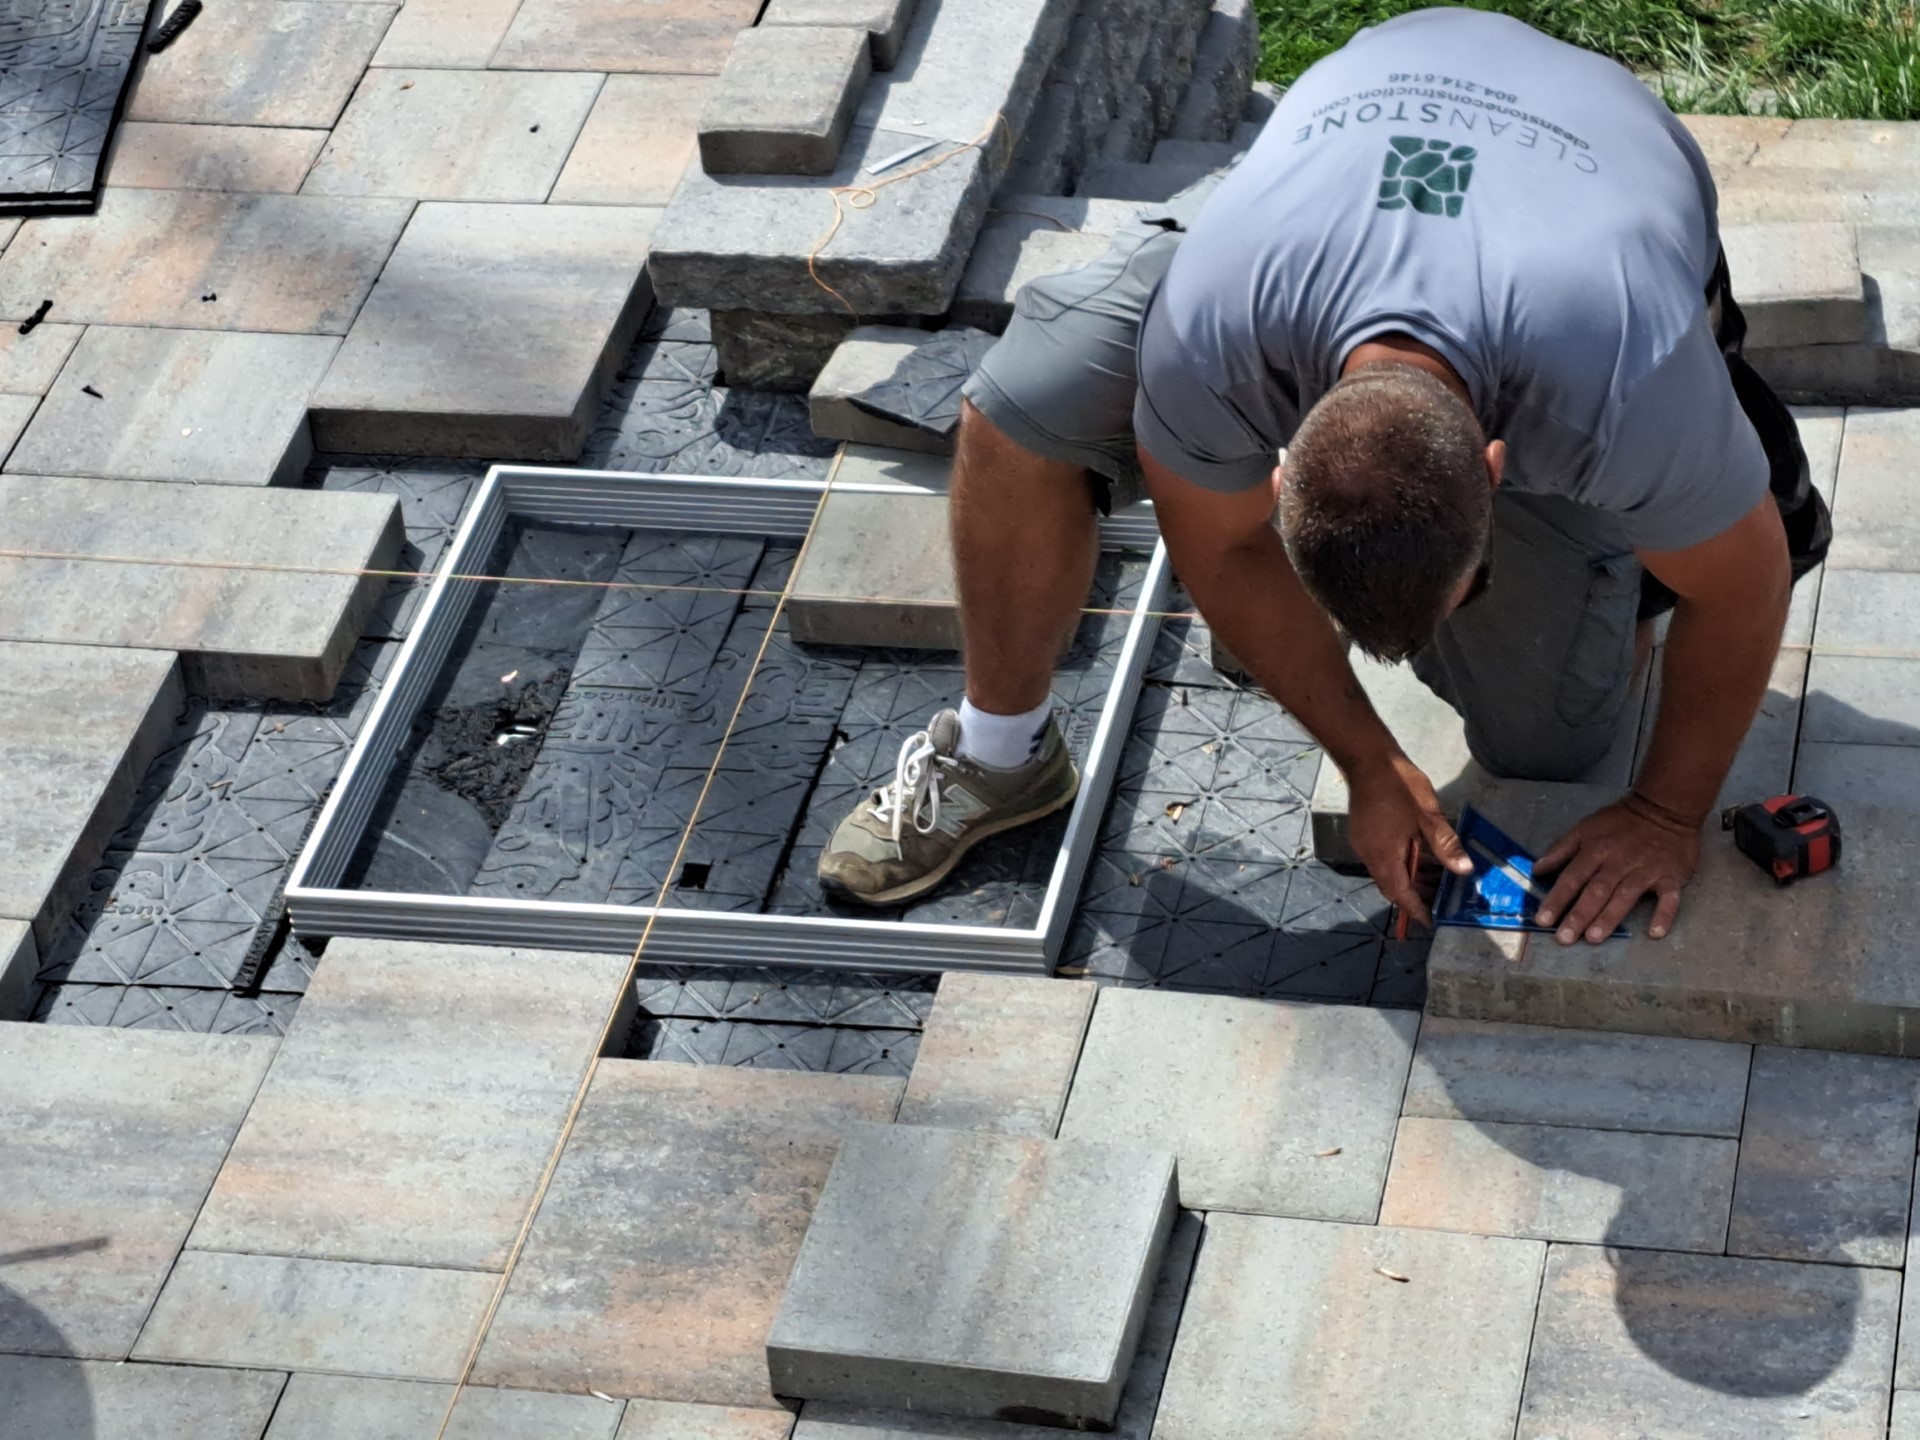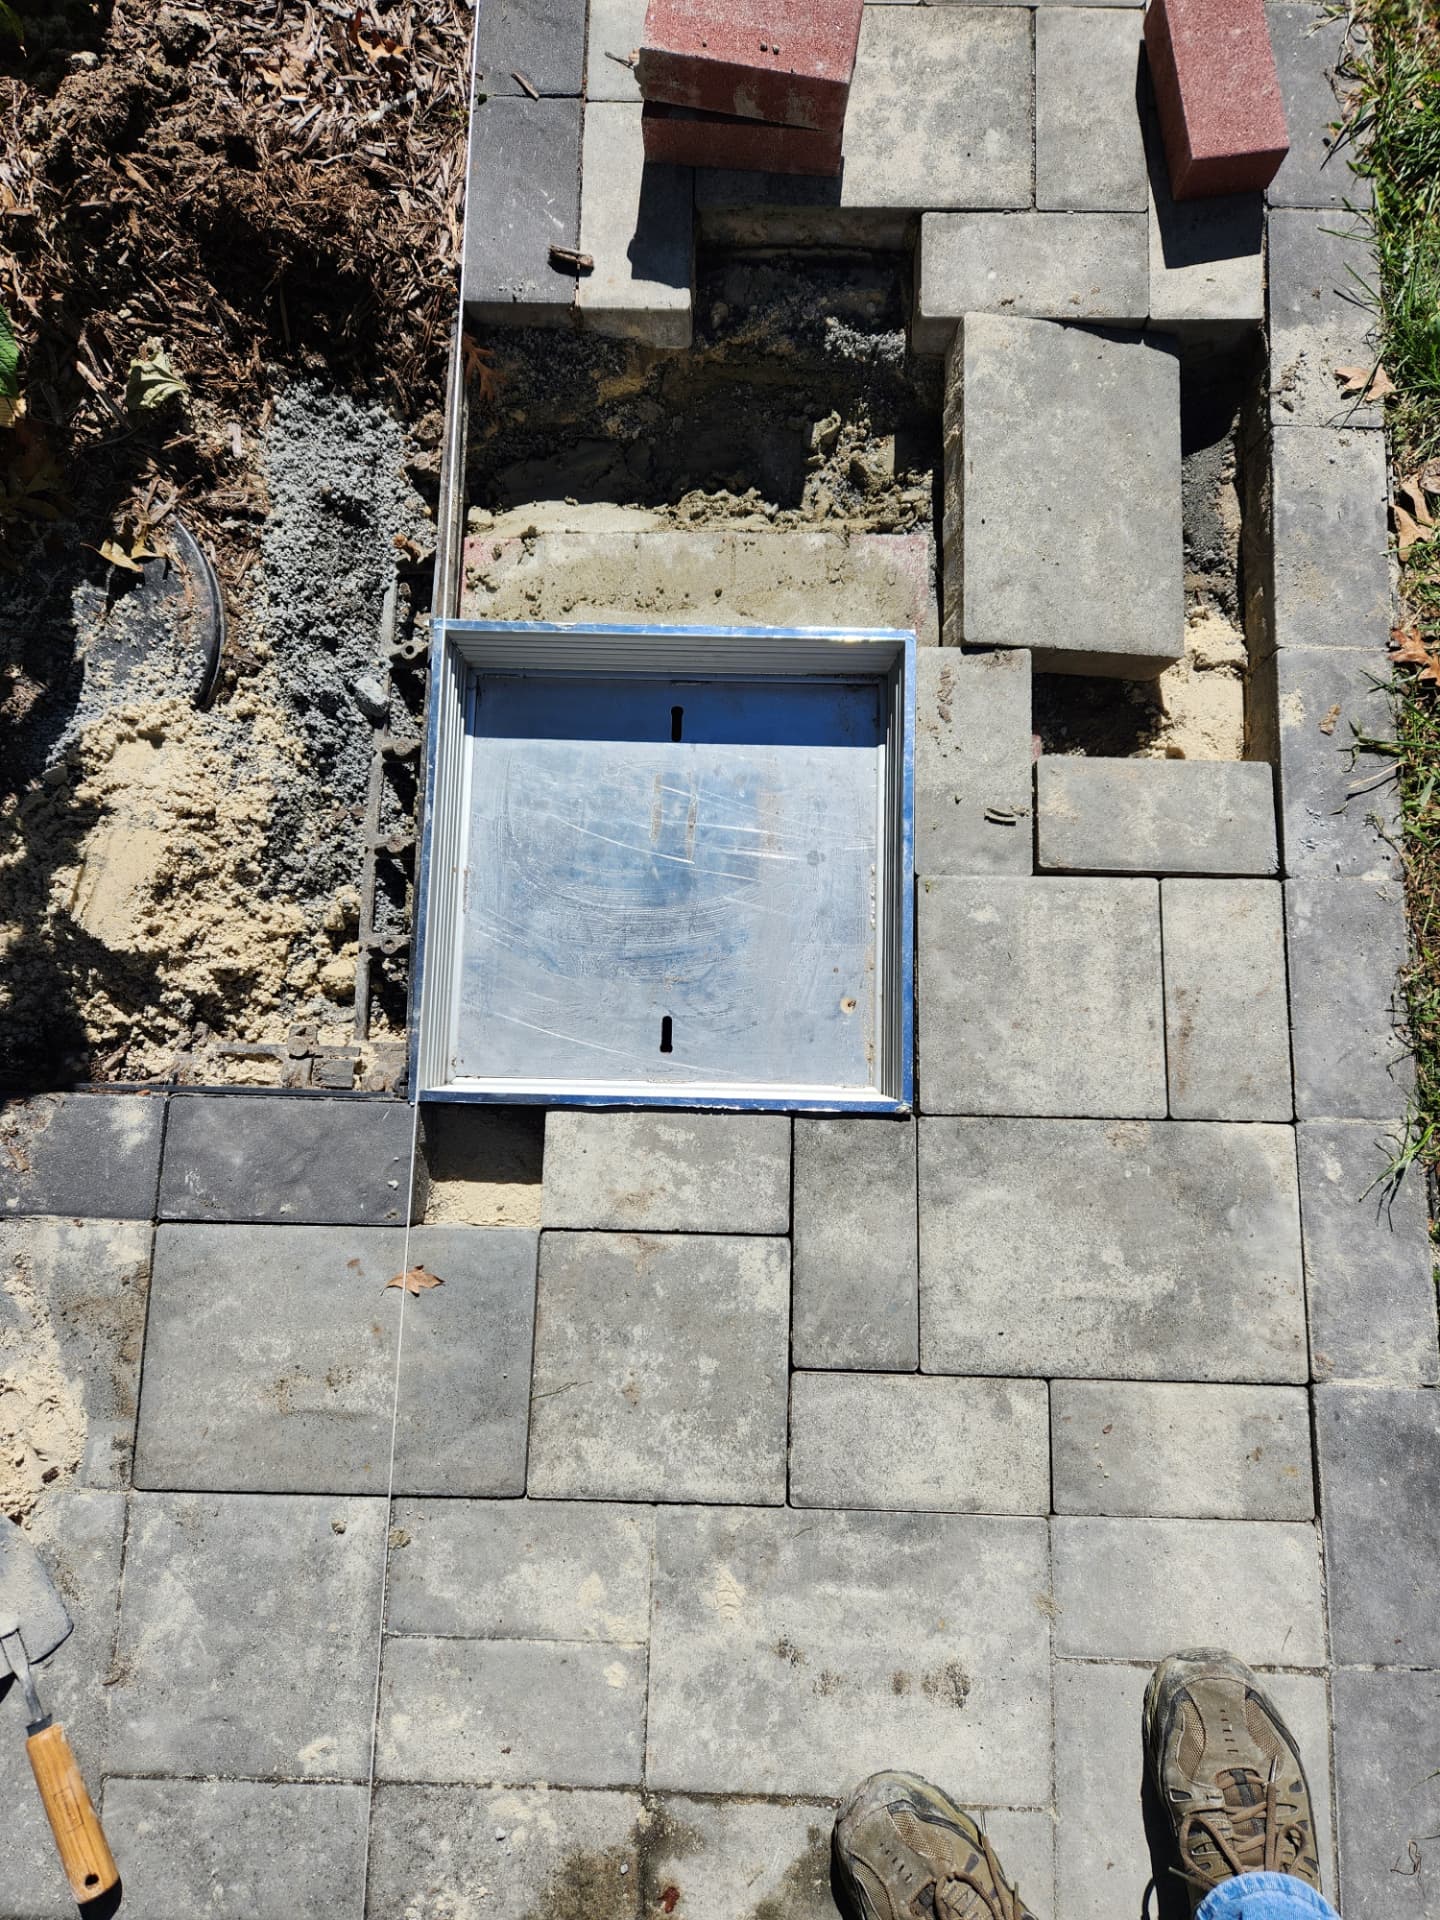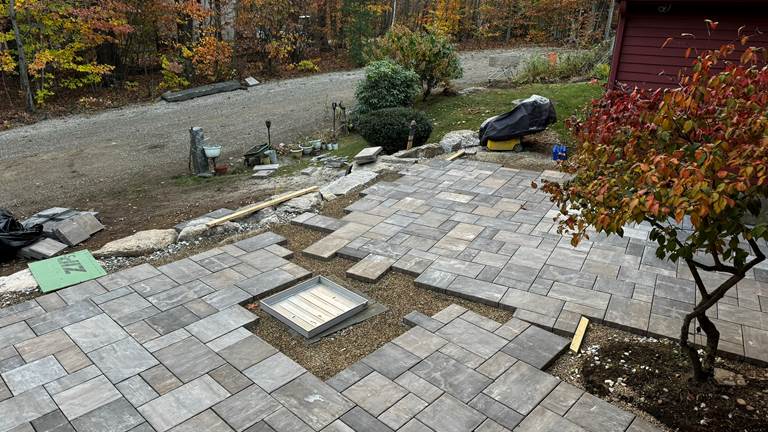
Installation
Install with Pavers / Concrete
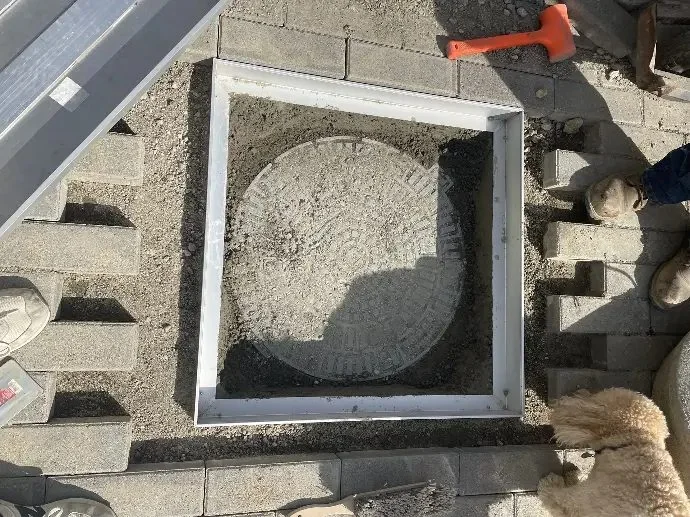
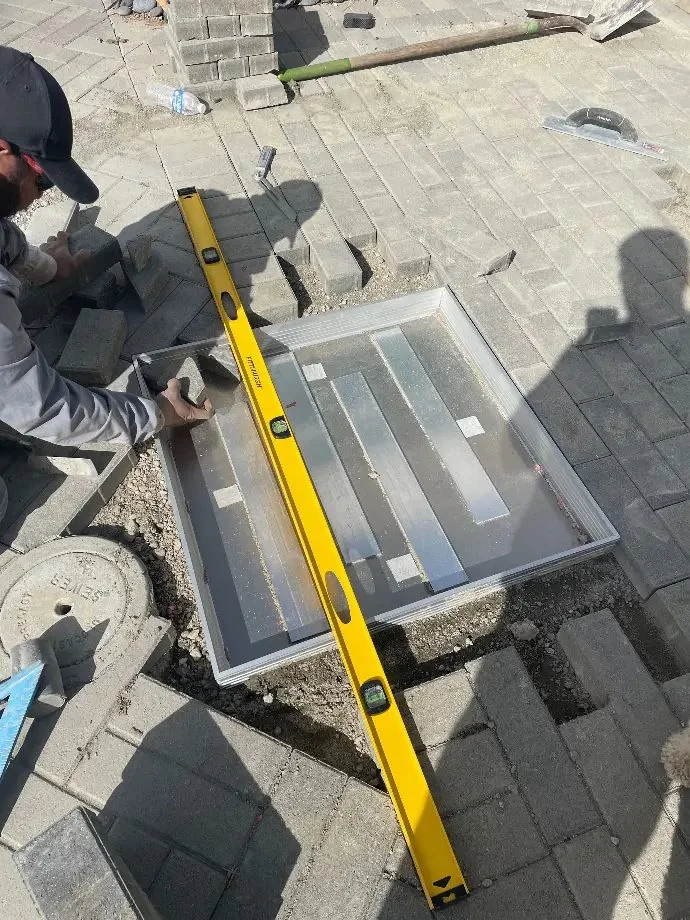
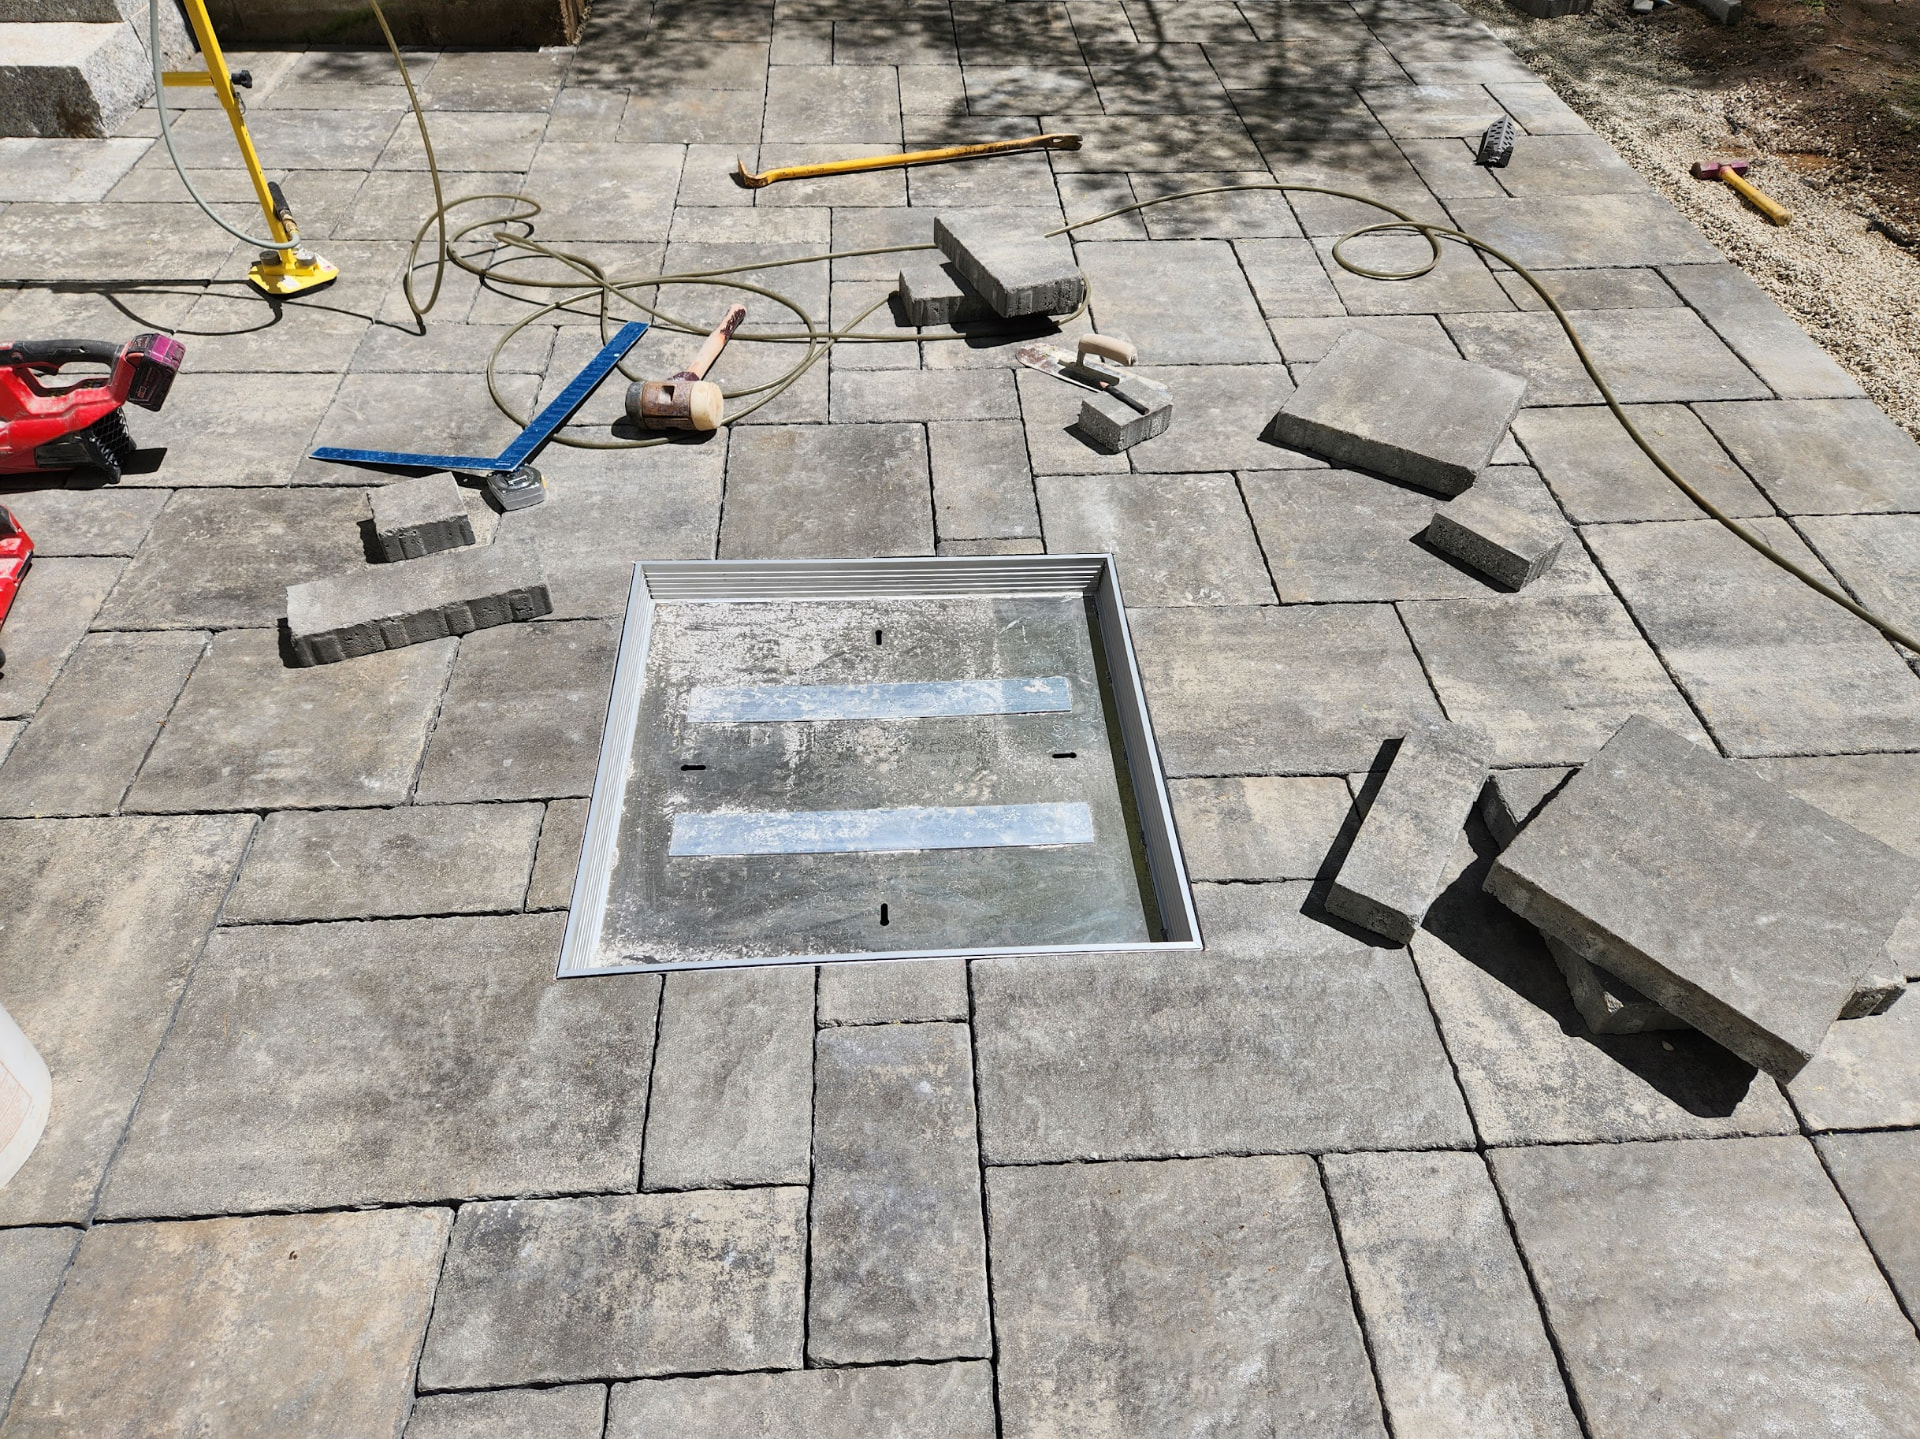
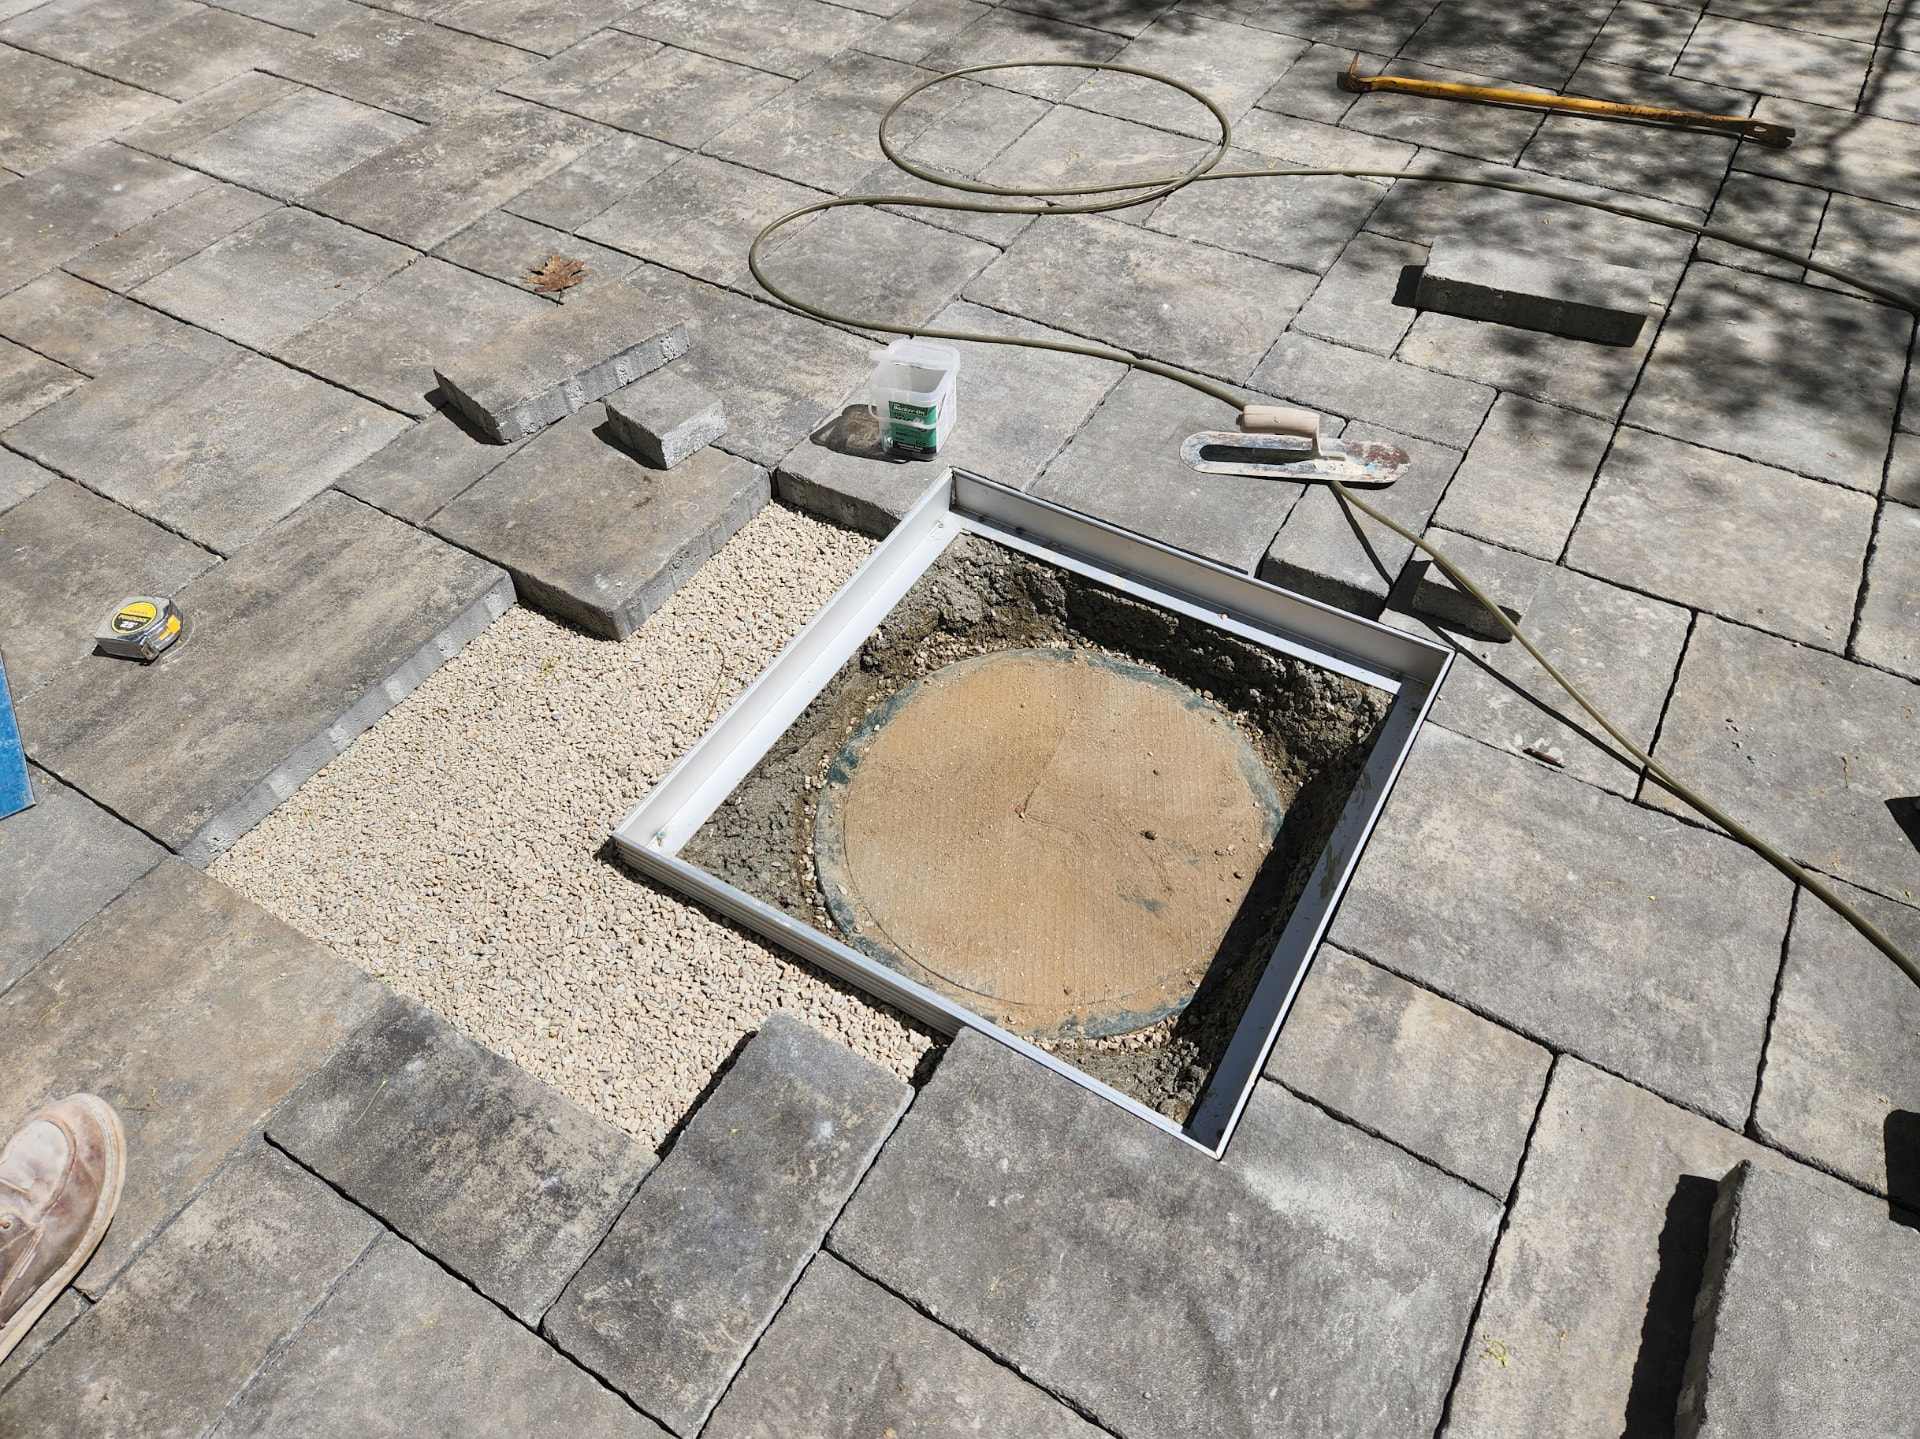
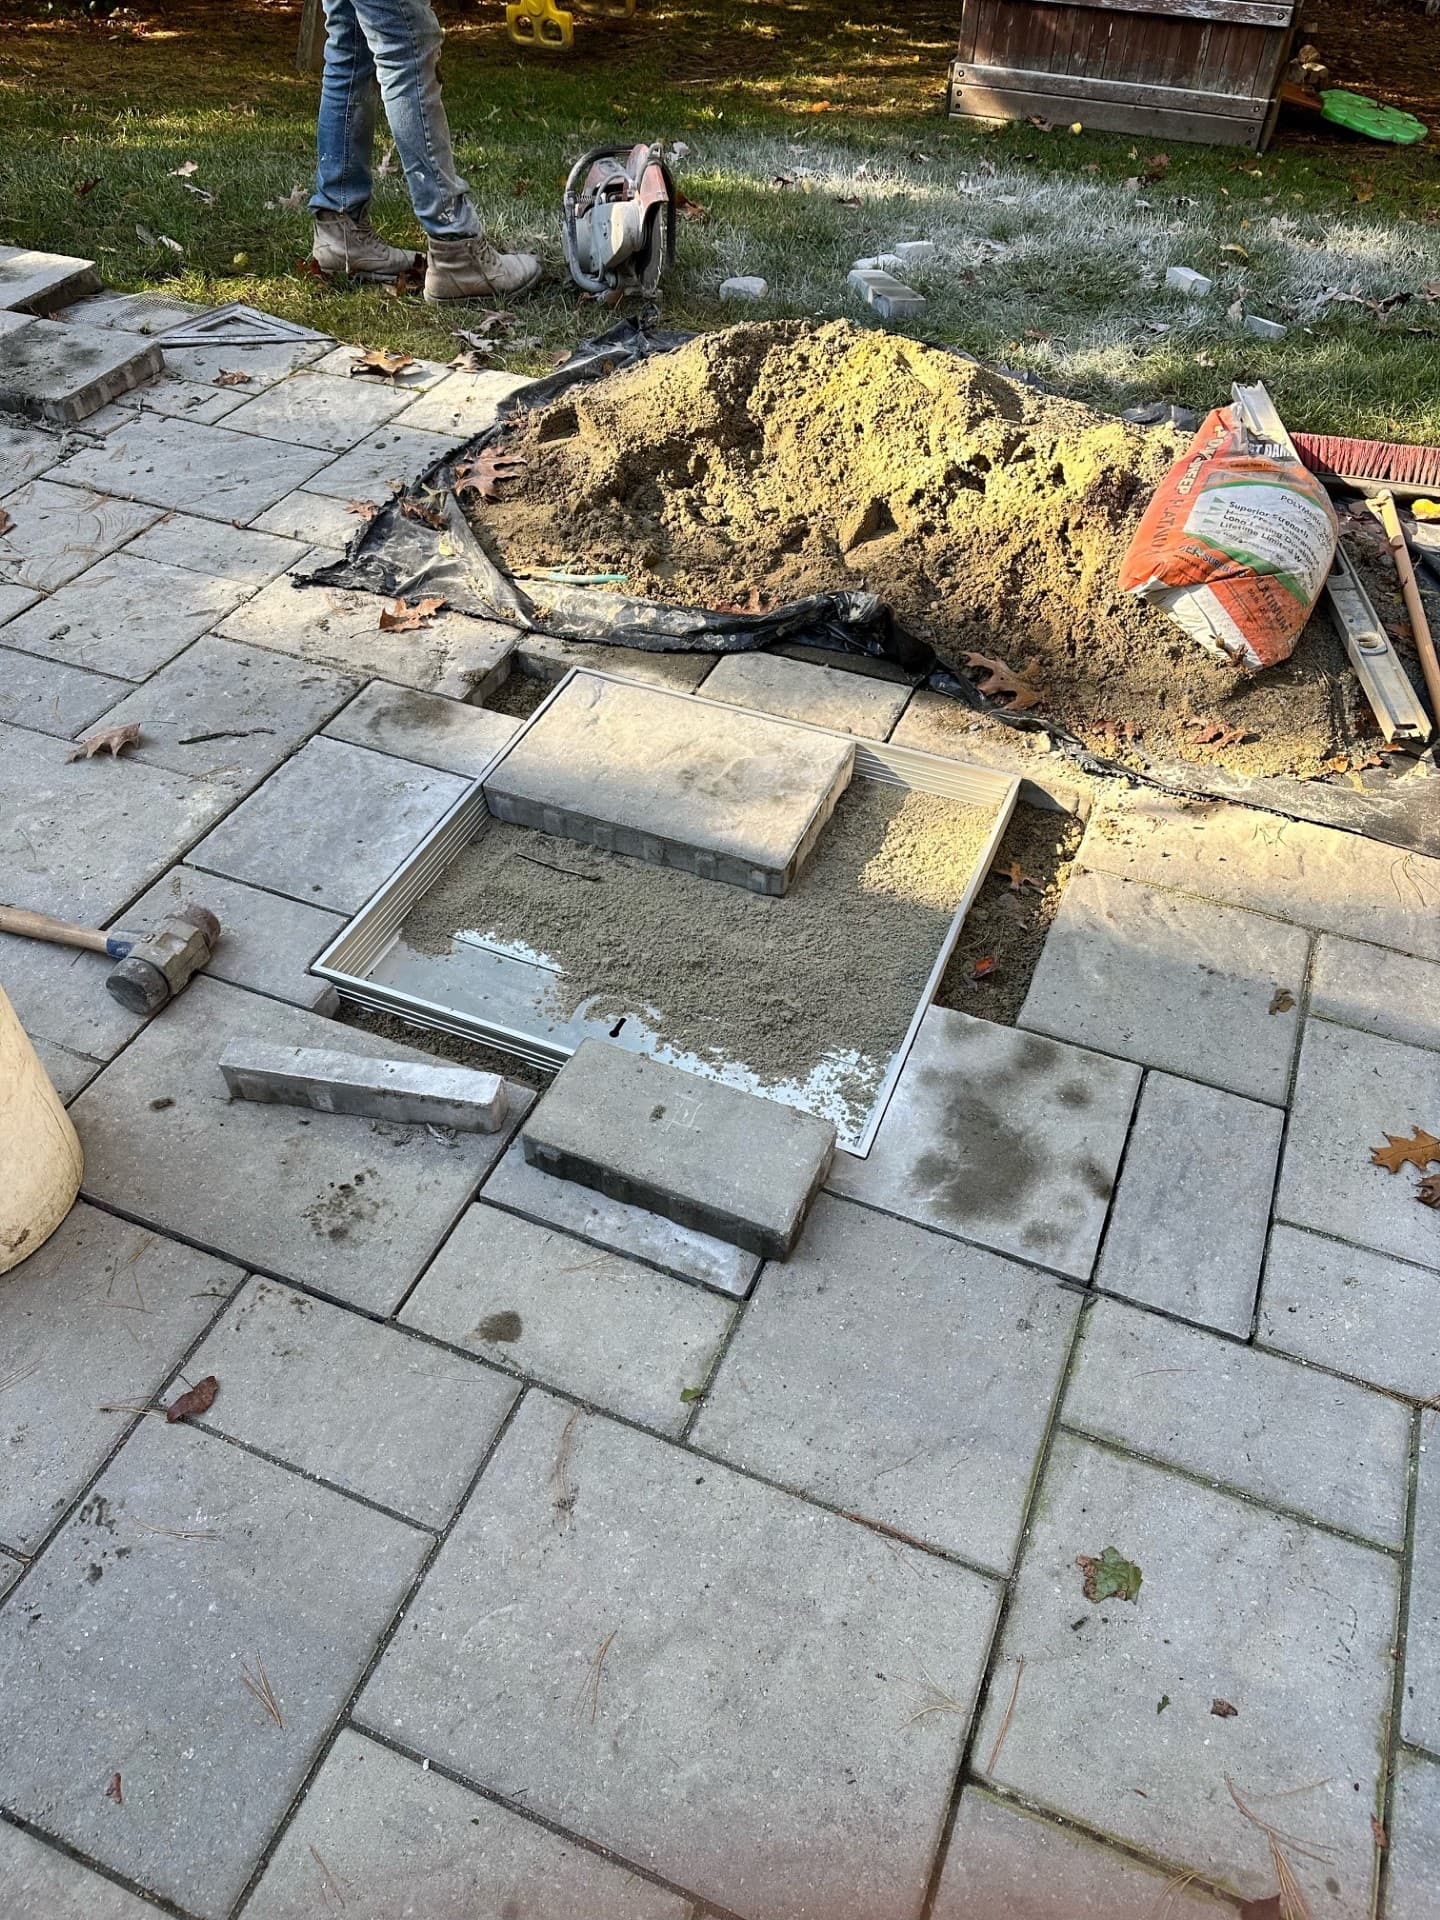
PaverPals ships as a frame and tray system that you infill with your own materials.
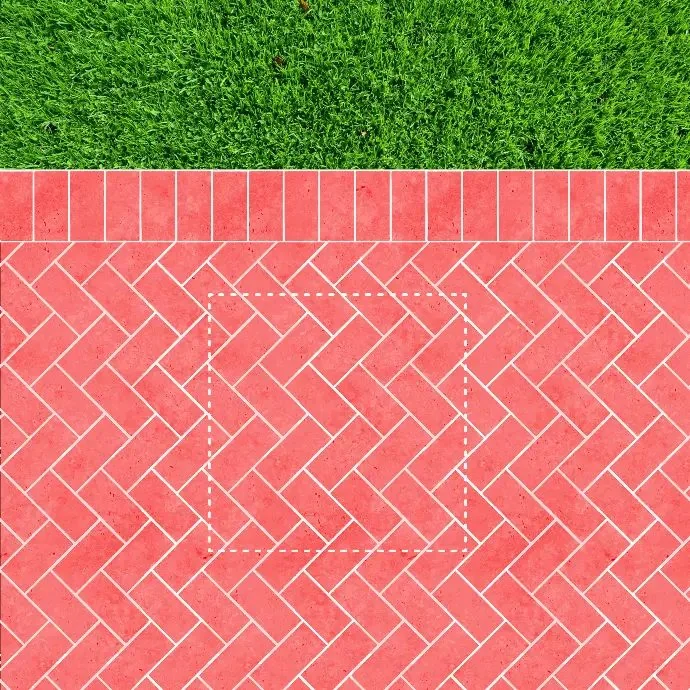
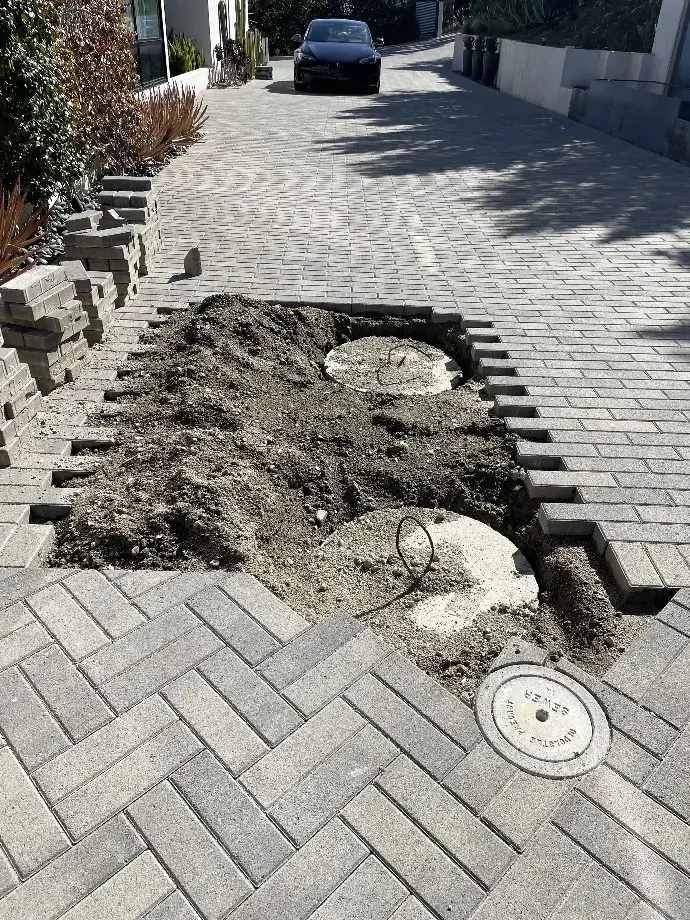
1. Photograph Existing Paver Pattern
Take a photo of the existing paver pattern for reference. Mark the area where you intend to install the cover.
Step 1 of 12
Install with Artificial TurfComing soon
Artificial turf installation instructions are coming soon.
Installer notes
- •Aluminum PaverPals: Never drag the cover on pavement, always use a roller to avoid damaging the surface and the cover.
- •The clear opening size is 3.5 inches smaller than the O.D. of the cover.
- •Consider ordering a slightly larger size to better fit your paver pattern and positioning the cover not necessarily symmetric with the opening below. Maximize the use of full size pavers to eliminate slivers.
- •Water features need grounding lugs for lighting.
- •Do not apply hot water to free any ice from the PaverPals. Rather, use De-Icer and a rubber mallet.
- •If the paver field is on compacted materials, the frame of the cover should also sit on compacted materials so that over time both the PaverPals and surrounding field settle equally. If you create a hard point in the middle of a compacted field, over time it can become proud and problematic.
- •Pouring concrete for stainless steel covers, you can use ¼ 20 carriage bolts in lieu of nelson studs to secure cover in pavement overlay.
- •If you're using an upper seal to create a water tight PaverPals, the frame must have additional wire, wood, or metal appendages to prevent the frame from being pulled out with the tray.
- •Do not pack the pavers in tightly at the perimeter; it can cause the tray to be pushed outward, wedging it in place making it difficult to remove.
- •To make tray removal easier, you can file or lightly sand down the 90 degree edge on the inside pan to create greater clearance.
Installation Gallery